This exercise shows you how to add three different types of analytics to your WordPress blog/website: Feedburner, Google Analytics, and Woopra.
Feedburner
Unless someone who subscribes to your RSS feed clicks on link leading back to your site, you will not be able to measure the activity. Feedburner, which is now a Google company, converts a standard blog RSS feed into a source of measurement including the number of subscribers, allow email subscriptions, and gain deeper insights into your blog readers.
Google Analytics
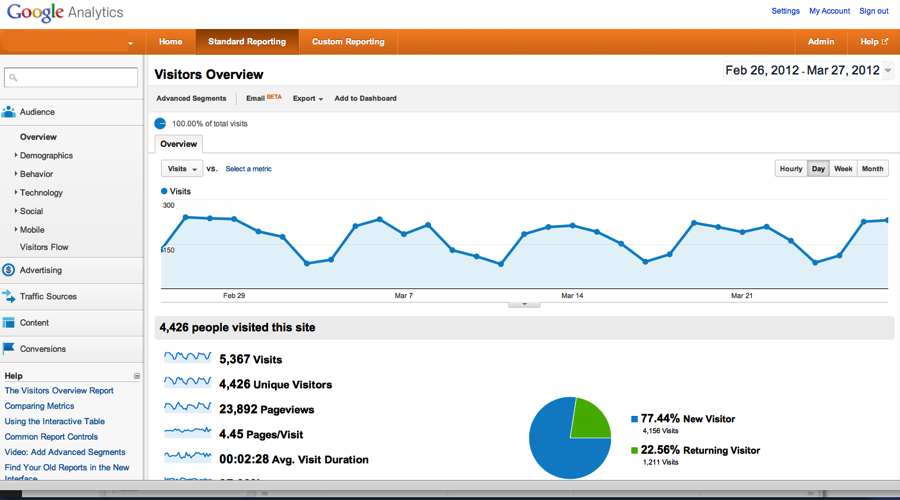
Google Analytics is one of many website analytics tools available to measure traffic from your website. It is free, widely used (thus has a large community), easy to setup, and is continuously updated by Google. For broad analysis and reporting of your website traffic, try several of the tools to see which works best for you.
Woopra
This real-time analytics application allows you to see real-time visitors by location, referral source, top page. In addition, you can tag visitors to see recurring visitors. Woopra also offers an on-site chat application, but primarily it is a reporting software.
Here is a brief video walk through that shows you how to create each of the accounts:
This video demonstrates how to use WordPress plugins to add the analytics to your site:
Have You Added Analytics to WordPress Properly?
Once you have added these plugins to WordPress, you will want to check back with each of the respective sites to see whether the information is registering.
#1 Checking Feedburner – When you click on the Entries RSS feed in your sidebar, do you see a screen that looks like this?
#2 Checking Google Analytics – Before you install the code your admin page that says Tracking Not Installed:

Once the code is installed properly, the page will say Tracking Installed
#3 Verifying Woopra – Once the code is properly installed, you should be able to visit your site in one tab and visit woopra.com in a separate tab and see that someone is on the site.


